Contents
When faced with water damage, it’s imperative to act swiftly and efficiently to minimize the damage. Understanding the fundamental repair techniques can make all the difference in restoring your home. From evaluating the damage to implementing effective drying strategies, each step plays an essential role in the repair process. Let’s explore these techniques further.
Key Takeaways
- Identify and stop the source of water damage immediately to prevent further flooding and complications.
- Remove standing water using pumps and wet vacuums to facilitate the drying process.
- Dry affected areas thoroughly with fans and dehumidifiers, aiming for humidity levels below 60%.
- Clean and sanitize all surfaces with mild detergents and disinfectants to prevent mold growth.
- Inspect and repair structural damage, replacing compromised materials and reinforcing weakened structures as needed.
Assessing the Extent of Water Damage
Before you can effectively tackle water damage repair, you need to accurately evaluate the extent of the damage. Start by inspecting visible areas for signs of moisture, such as discoloration or bubbling paint. Check behind furniture, along baseboards, and in corners where water may have pooled.
Don’t forget to examine ceilings and floors for sagging or soft spots, indicating deeper issues.
Next, use a moisture meter to measure the humidity levels in affected materials. This tool helps identify hidden damage within walls or flooring that mightn’t be visible. Document your findings with photos and notes, as this will aid in repair decisions and insurance claims.
Additionally, pay attention to unusual odors, which can signal mold growth. By thoroughly evaluating the situation, you’ll gain a clear understanding of what needs to be done, empowering you to move forward confidently in your water damage repair efforts.
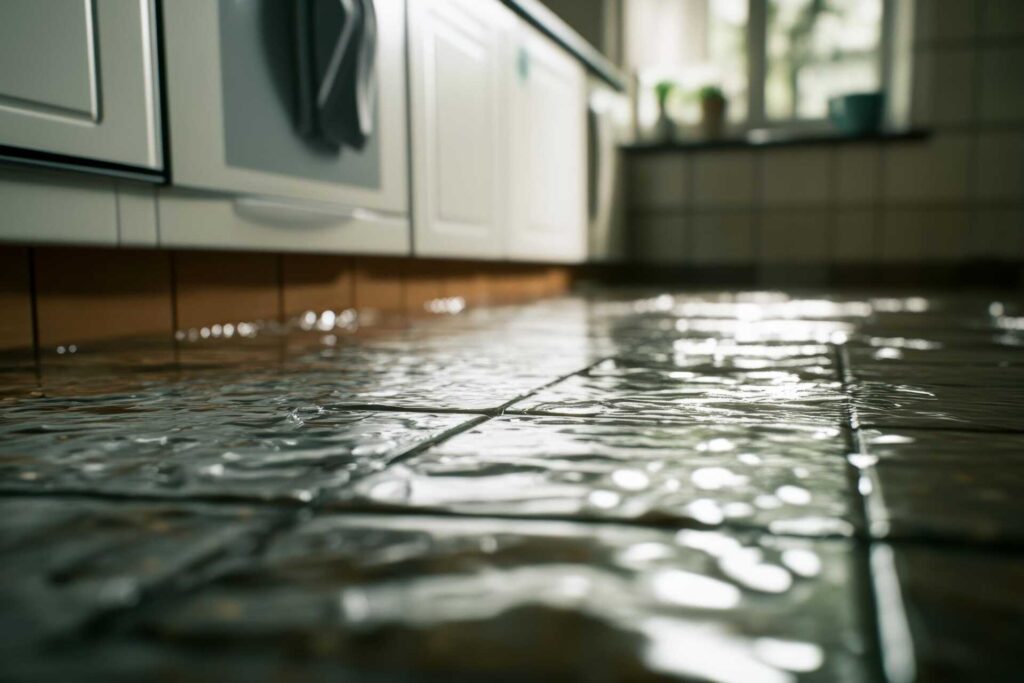
Immediate Water Removal Techniques
To effectively remove water, start by identifying the source to prevent further flooding.
Once you’ve assessed the situation, employ pumps to quickly extract standing water; submersible pumps are particularly effective in deep areas.
Timing is critical, so act swiftly to minimize damage and facilitate the drying process.
Assessing Water Source
How can you quickly identify the source of water damage to initiate effective removal?
Start by inspecting visible signs like damp spots, discoloration, or mold growth on walls and ceilings. Check plumbing fixtures, toilets, and pipes for leaks.
Don’t forget to examine your appliances, such as dishwashers and washing machines, as they can also be culprits.
If the damage is extensive, consider checking your roof and gutters for any blockages or breaches that might let water in.
Once you pinpoint the source, shut off the water supply to prevent further damage.
Document your findings with photos for insurance purposes.
This thorough assessment is essential for effective remediation and helps you feel more in control during a stressful situation.
Using Pumps Effectively
Once you’ve identified the source of water damage and stopped the leak, the next step is immediate water removal. Using pumps effectively is vital to minimize damage and prevent mold growth. Submersible pumps are ideal for large volumes, while utility pumps are versatile for smaller areas. Make certain the pump’s capacity matches your needs, and set it up in the lowest area to maximize efficiency.
Here’s a quick comparison to help you choose:
| Pump Type | Best For | Capacity |
|---|---|---|
| Submersible Pump | Basements | 1,500+ GPH |
| Utility Pump | Small leaks | 800-1,200 GPH |
| Sump Pump | Permanent installations | 1,000-2,500 GPH |
| Trash Pump | Debris-filled water | 1,000+ GPH |
| Diaphragm Pump | Low-pressure areas | 500-1,000 GPH |
Choosing the right pump can save you stress and restore your home quickly.
Drying and Dehumidification Strategies
While effective water damage repair hinges on prompt action, mastering drying, and dehumidification strategies are vital for preventing long-term structural damage and mold growth.
Start by removing excess water with pumps and wet vacs, then focus on drying the affected areas. Use fans and dehumidifiers strategically; place fans to increase airflow and direct them towards damp surfaces. A dehumidifier helps reduce humidity levels, accelerating evaporation.
Keep windows and doors closed to avoid introducing moist air, and monitor the humidity with a hygrometer. Aim for a humidity level below 60%.
Consider using specialized drying equipment, such as air movers and desiccant dehumidifiers, for more extensive damage.
For porous materials like drywall and carpeting, make sure they’re adequately dried to prevent hidden mold growth. Regularly check your progress; it may take several days to achieve proper dryness, but this effort is essential for protecting your home’s integrity.
Cleaning and Sanitizing Affected Areas
After thoroughly drying the affected areas, it’s crucial to clean and sanitize surfaces to eliminate any lingering contaminants and prevent mold growth.
Start by using a mixture of warm water and a mild detergent to scrub all surfaces. Pay special attention to corners and crevices, where dirt and moisture may accumulate.
For tougher stains or mildew, a solution of one cup of bleach to a gallon of water can be effective, but make sure proper ventilation and wear protective gear.
Once cleaned, apply a disinfectant spray to all surfaces, following the manufacturer’s instructions for contact time.
Don’t forget to sanitize frequently touched areas like doorknobs and light switches.
After you’ve cleaned, monitor the area for any signs of mold and address moisture issues promptly.
Repairing Structural Damage
When you discover structural damage from water intrusion, addressing it promptly is crucial to maintain the integrity of your home.
Start by evaluating the extent of the damage. Inspect beams, joists, and walls for warping, cracking, or discoloration. If you identify compromised wood, it may require replacement. Cut out any rotting sections and make sure you treat surrounding areas to prevent further issues.
Next, reinforce weakened structures. Use steel brackets or additional lumber to support sagging beams. If the damage is extensive, consider consulting a structural engineer for a professional evaluation.
Once the repairs are made, ensure proper ventilation and moisture control in affected areas to prevent future problems. This might involve installing dehumidifiers or improving drainage around your foundation.
Taking these steps restores safety and enhances your home’s value, giving you peace of mind and a sense of belonging in your space.
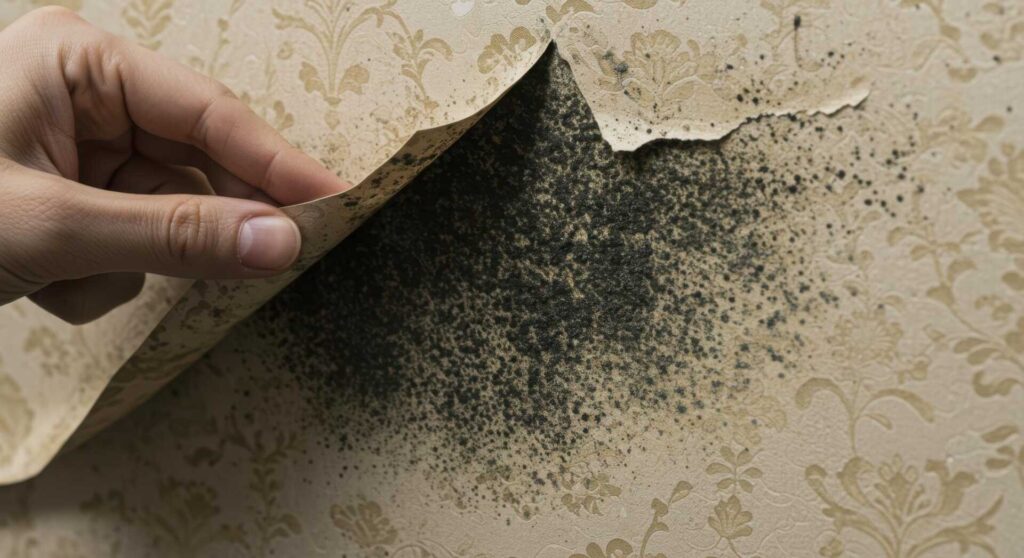
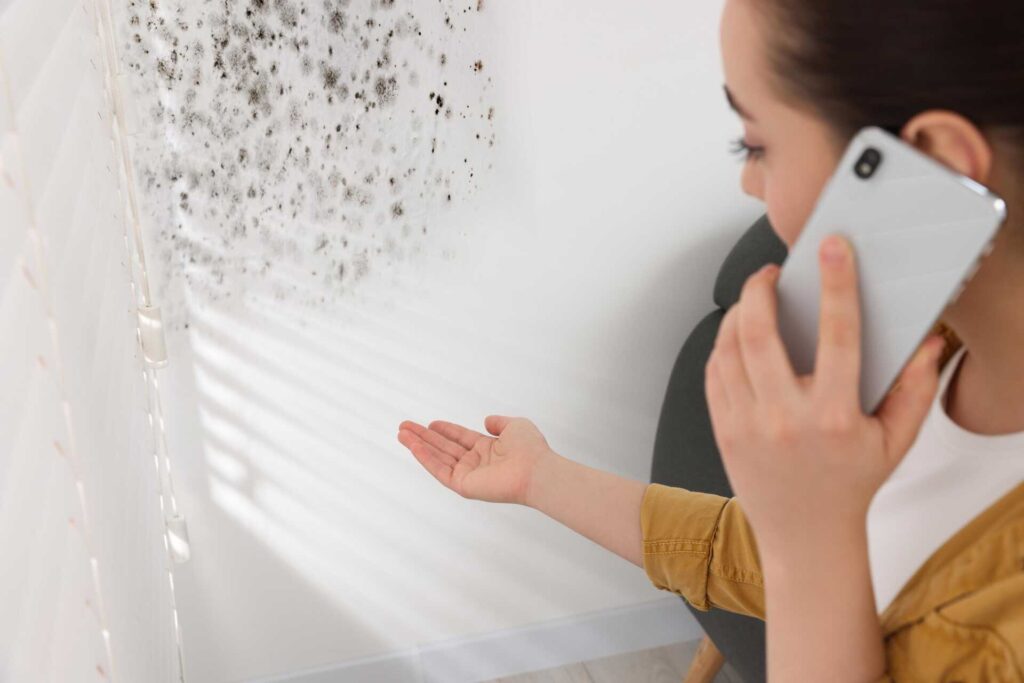
Mold Prevention and Remediation
To effectively prevent and remediate mold growth in your home, it’s essential to control moisture levels and assure proper ventilation.
Start by identifying and sealing any leaks in plumbing, roofs, or walls. Make certain that your home’s humidity levels stay below 60% by using dehumidifiers in damp areas like basements and bathrooms.
Ventilate areas prone to moisture by installing exhaust fans and opening windows when possible.
If you find mold, act quickly. Wear protective gear, including gloves and masks, and isolate the affected area. Use a mixture of water and detergent for small patches, scrubbing thoroughly. For larger infestations, consider using EPA-approved mold removers or consulting a professional.
After remediation, inspect and monitor the area regularly to catch any signs of regrowth early.
Long-Term Monitoring and Maintenance
While addressing water damage is crucial, establishing a routine for long-term monitoring and maintenance is equally important to ensure your home remains safe from future issues.
Start by regularly inspecting areas prone to moisture, such as basements, kitchens, and bathrooms. Look for signs of leaks or water stains and address them immediately.
Next, clean and maintain gutters and downspouts to promote proper drainage away from your foundation. Consider installing a dehumidifier in humid areas to reduce moisture levels.
Also, regularly check your home’s plumbing system—look for corrosion or wear on pipes and fittings.
Don’t forget to inspect your roof for missing shingles or damage that could lead to leaks.
Lastly, create a schedule for periodic professional inspections, particularly in high-risk areas.
Final Thoughts
Addressing water damage promptly and effectively is vital for your home’s integrity. By following these seven essential techniques, you can mitigate further issues and protect your property. Have you considered how much damage can escalate if left unchecked? Remember to document your repairs for insurance purposes and keep an eye on potential problem areas. With the right approach, you can ensure a safe and dry living environment for you and your family.