Contents
After a significant flood, homeowners often discover unsightly patches of black mold lurking in damp corners. This rapid growth can pose serious health risks, including respiratory issues and allergic reactions. Understanding the urgency of DIY black mold removal is vital for safeguarding your living environment. By acting quickly and effectively, you can protect both your health and your property. But what steps should you take to ensure a thorough and safe removal process?
Key Takeaways
- DIY black mold removal can prevent health risks associated with mold exposure, especially for vulnerable populations like children and those with existing conditions.
- Quick action is essential as black mold can develop within 24 to 48 hours after flooding, posing immediate health hazards.
- Addressing mold issues promptly can save homeowners from costly repairs and extensive damage if left untreated.
- DIY methods allow for early detection and intervention, reducing the likelihood of mold spreading throughout the home.
- Taking preventative measures through DIY removal empowers homeowners to maintain a healthy living environment and control indoor humidity levels.
Understanding the Risks of Black Mold After Flooding
When you experience flooding, the aftermath often poses significant risks, particularly from black mold. This type of mold thrives in damp environments, often appearing within 24 to 48 hours after water exposure. You mightn’t initially notice it, but the spores can quickly spread, leading to potential health hazards.
Breathing in these spores can trigger allergy-like symptoms, respiratory issues, and even more severe reactions, especially in vulnerable populations like children or those with existing health conditions.
Additionally, black mold can compromise the structural integrity of your home, causing costly damage over time.
To mitigate these risks, it’s essential to act quickly. Remove water and moisture promptly, and ensure proper ventilation.
Understanding the risks associated with black mold empowers you to take proactive steps, fostering a sense of community and shared responsibility in protecting your living environment.
Identifying Signs of Black Mold Growth
To effectively address black mold growth, you need to recognize its signs early.
Look for visible mold patches, a musty odor, and any indicators of water damage in your home.
Identifying these elements can help you take timely action before the problem escalates.
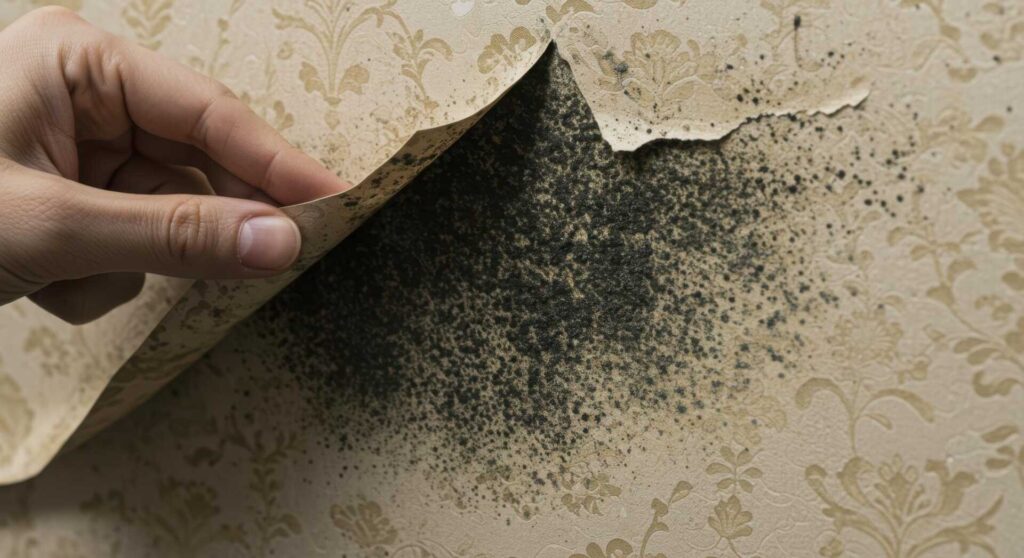
Visible Mold Patches
Visible mold patches often signal the presence of black mold, a hazardous fungus that thrives in damp environments. When you spot these patches, often black or greenish in color, it’s essential to act quickly.
Typically found on walls, ceilings, and around windows, these spots indicate moisture issues that need addressing. Don’t ignore them; they can spread rapidly and pose health risks, especially for those with respiratory issues.
You should inspect hidden areas, like behind wallpaper or under carpets, where mold might hide. Identifying these visible signs is your first step in preventing further growth and protecting your home.
Taking action safeguards your environment and fosters a sense of belonging and responsibility within your community.
Musty Odor Presence
If you’ve noticed visible mold patches, another significant indicator of black mold growth is a musty odor.
This distinct smell often resembles damp, rotting wood or dirty socks, which can permeate your living space. If you detect this odor, it’s essential to investigate further, as it typically indicates mold spores thriving in moisture-rich environments.
Trust your senses; if the smell persists despite cleaning, mold may be hidden behind walls, under carpets, or in other concealed areas. Ignoring this warning can lead to health risks and structural damage.
By addressing the musty odor promptly, you will protect your home and create a healthier environment for you and your loved ones.
Don’t overlook this critical sign of potential mold growth.
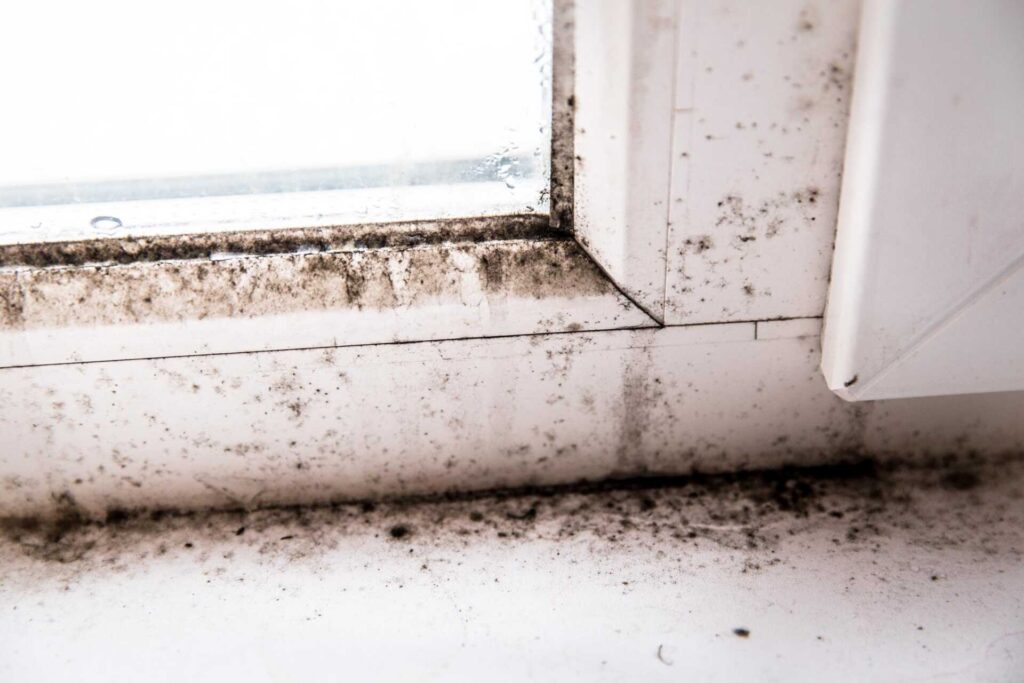
Water Damage Indicators
Water damage is often the precursor to black mold growth, and recognizing its signs can prevent more severe issues down the line.
Look for these key indicators:
Water Stains: Check for discoloration on walls or ceilings, often yellow or brown.
Peeling Paint or Wallpaper: If paint or wallpaper is bubbling or peeling, moisture may be trapped underneath.
Warped Floors: Examine floorboards or tiles for signs of warping, which can indicate prolonged exposure to moisture.
Condensation: Excessive moisture on windows or walls suggests high humidity levels conducive to mold growth.
Being vigilant about these signs can help you tackle potential mold problems early, ensuring a safer, healthier living environment for you and your loved ones.
Essential Safety Precautions for DIY Mold Removal
When tackling DIY mold removal after flooding, prioritizing safety is essential. You need to protect yourself from health risks associated with mold exposure. Start by wearing appropriate personal protective equipment (PPE), such as gloves, goggles, and an N95 respirator. Ensure proper ventilation in the area to reduce airborne spores.
Here’s a quick reference table for essential safety precautions:
| Safety Measure | Description |
|---|---|
| Wear PPE | Use gloves, goggles, and respirators |
| Ventilate Work Area | Open windows and use fans |
| Seal Off Affected Area | Use plastic sheeting to contain spores |
Necessary Tools and Materials for Effective Mold Removal
After taking the right precautions to ensure your safety, gathering the necessary tools and materials is the next step in effective mold removal.
Having the right equipment will streamline the process and ensure thoroughness in tackling the problem. Here’s what you’ll need:
Protective Gear: Invest in gloves, a mask, and goggles to shield yourself from mold spores.
Cleaning Solutions: Use a mix of water and detergent or a commercial mold remover to effectively eliminate mold.
Scrub Brushes and Sponges: These are essential for scrubbing surfaces and getting into crevices where mold might hide.
Dehumidifier: This helps reduce moisture levels in the air, discouraging mold regrowth.
With these tools at hand, you’ll be equipped to tackle the mold effectively, assuring a safer and healthier living environment for you and your loved ones.
Step-by-Step Guide to Removing Black Mold
Removing black mold effectively requires a systematic approach to ensure thorough eradication and prevent future growth.
Start by evaluating the affected areas; identify all mold-infested spots, including hidden corners. Wear protective gear—gloves, goggles, and a mask—to safeguard yourself.
Next, contain the area by sealing doors and vents with plastic sheeting to prevent spores from spreading.
Prepare a cleaning solution, either a mixture of water and detergent or a commercial mold remover. Apply it generously to the moldy surfaces, letting it sit for at least 10 minutes to penetrate.
Scrub the surfaces with a brush, focusing on stubborn patches. After scrubbing, rinse with clean water and dry the area thoroughly to eliminate moisture.
Finally, dispose of any contaminated materials safely. Remember, thoroughness is key; verify you’ve eradicated all mold traces to protect your home and health.
Preventing Future Mold Growth After Removal
Successful black mold removal sets the stage for preventing future growth, which is essential for maintaining a healthy living environment.
Once you’ve cleared the mold, focus on these key strategies to ensure it doesn’t return:
Control Humidity: Keep indoor humidity below 60% using dehumidifiers or air conditioners.
Fix Leaks: Repair any plumbing or roof leaks promptly to eliminate moisture sources.
Improve Drainage: Ensure proper drainage around your home’s foundation to prevent water pooling.
Regular Inspections: Conduct routine checks in areas prone to dampness, like basements and bathrooms.
Importance of Proper Ventilation During Cleanup
While tackling black mold cleanup, ensuring proper ventilation is essential for maintaining air quality and safety. Adequate airflow helps disperse mold spores and reduces the concentration of harmful particles in your environment. Opening windows and doors or using fans can greatly improve ventilation, allowing fresh air to circulate and push out stagnant air.
When you stir up mold during cleanup, it can release spores into the air, potentially leading to respiratory issues or allergic reactions. By prioritizing ventilation, you protect yourself and safeguard others in your household.
Additionally, maintaining proper humidity levels during the process can further inhibit mold growth. Consider using dehumidifiers to keep moisture at bay.
Ultimately, focusing on ventilation fosters a healthier environment for you and your family, creating a sense of belonging and safety in your home. Remember, a well-ventilated space is your ally in effective mold removal.
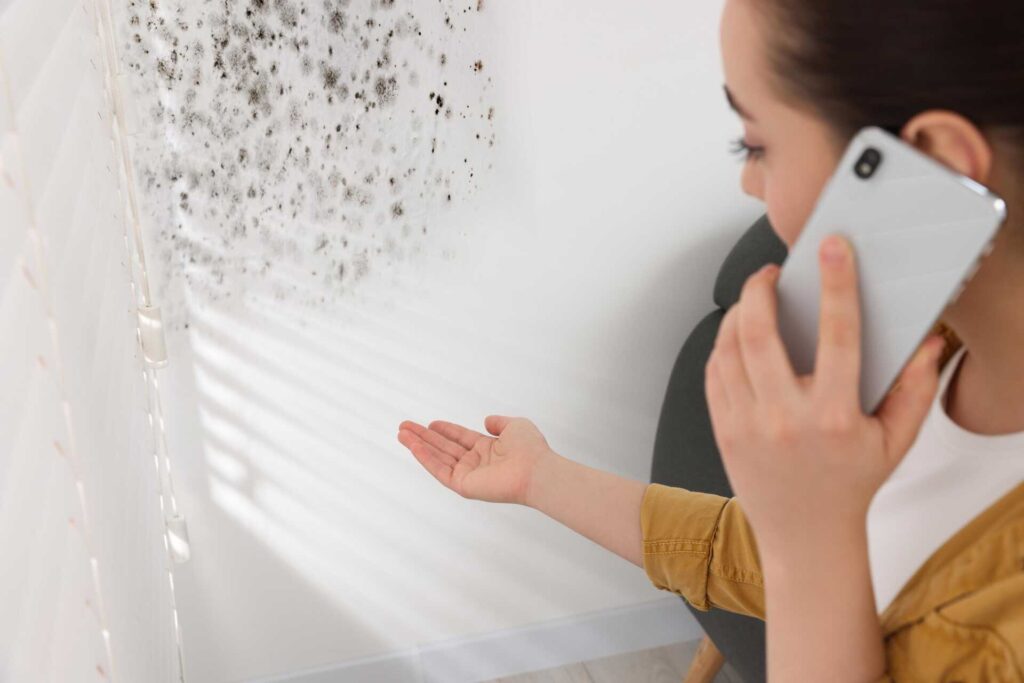
When to Seek Professional Help for Mold Issues
If you notice extensive mold growth in your home, it’s vital to assess the situation carefully.
Ignoring it can lead to significant health concerns, especially for individuals with respiratory conditions or allergies.
In such cases, seeking professional help isn’t just advisable; it’s often necessary to ensure safety and proper remediation.
Extensive Mold Growth
When you notice extensive mold growth after flooding, it’s crucial to assess the situation carefully.
While DIY methods can be effective for minor mold, extensive growth often requires professional intervention.
Here are four signs that indicate you should seek expert help:
- Coverage Area: Mold covers more than 10 square feet.
- Structural Damage: You notice damage to walls, ceilings, or floors.
- Persistent Odors: Musty smells linger despite cleaning.
- Recurring Growth: Mold returns quickly after treatment.
Ignoring these signs can worsen the problem and compromise your home.
Health Concerns Present
Recognizing health concerns related to mold exposure is essential for ensuring your safety and well-being. Mold can lead to respiratory issues, allergies, and other serious health complications, especially for vulnerable groups like children and the elderly.
If you experience persistent coughing, sneezing, or skin irritation after a flood, it’s vital to act quickly. Additionally, if you notice extensive mold growth or if it covers an area greater than 10 square feet, seeking professional help is advisable.
Professionals can assess the situation accurately and use specialized equipment to ensure complete removal. Don’t hesitate to reach out for assistance; your health and the health of your loved ones shouldn’t be compromised.
Taking proactive steps can help maintain a safe environment for everyone.
Long-Term Maintenance Tips for Flood-Affected Areas
Although flooding can cause significant damage, implementing long-term maintenance strategies can help prevent future issues and ensure a safer environment.
By following these steps, you can better protect your home and health:
Regular Inspections: Check for signs of mold growth, moisture, and water damage at least quarterly. Early detection can save you from extensive repairs.
Proper Ventilation: Ensure your home is well-ventilated. Use exhaust fans in high-moisture areas like bathrooms and kitchens to reduce humidity levels.
Seal Vulnerable Areas: Inspect and seal cracks in your foundation, windows, and doors. This minimizes water intrusion during heavy rainfall.
Maintain Gutters and Downspouts: Keep gutters clean and downspouts directed away from your home’s foundation. Proper drainage helps prevent water buildup and flooding.
Recap
Addressing black mold after flooding is essential for your health and home. By understanding risks, identifying signs, and taking safety precautions, you can effectively tackle mold growth. Utilizing the right tools and following a step-by-step guide empowers you to reclaim your space. Furthermore, preventing future mold and ensuring proper ventilation safeguards your environment. Remember, knowing when to seek professional help can save you time and stress, ultimately preserving your well-being and property value.